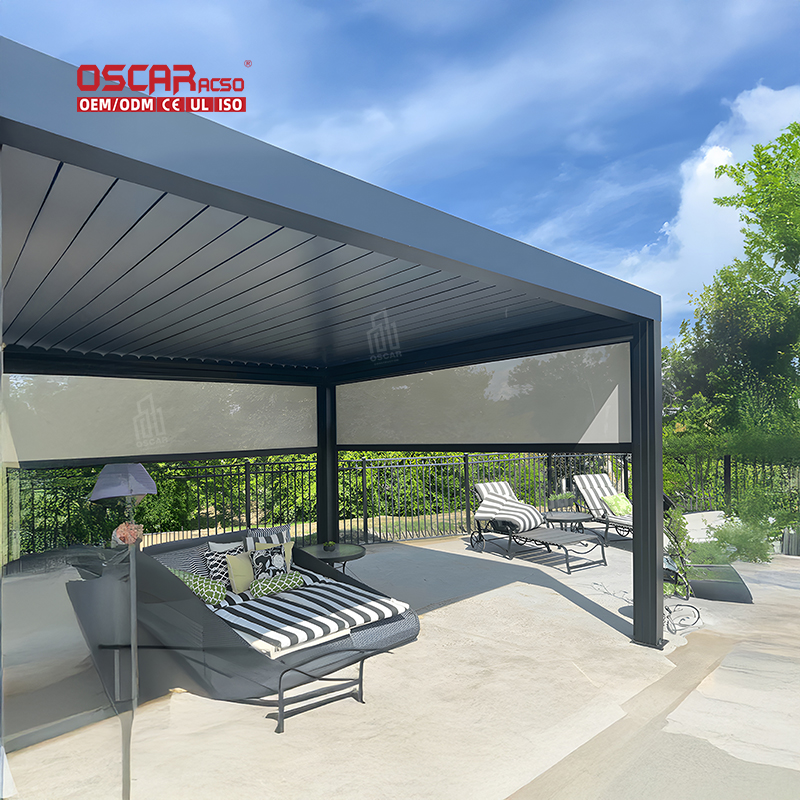
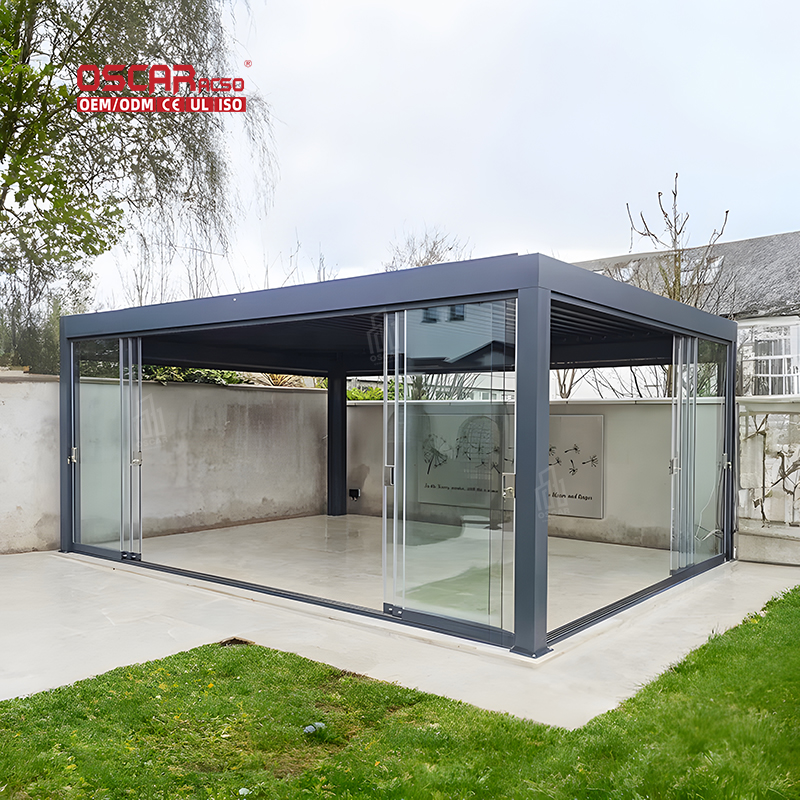
20×40 Motorized Aluminum Pergola, Revolutionize Your Outdoor Living Experience
Imagine effortlessly adjusting your outdoor shade with the simple push of a button ☀️. A 20x40 motorized aluminum perg...
Imagine effortlessly adjusting your outdoor shade with the simple push of a button ☀️. A 20×40 motorized aluminum pergola isn’t just a structure; it’s a transformative addition that merges intelligent design with durable, low-maintenance functionality. This sizable pergola creates a versatile, weather-responsive retreat perfect for grand entertaining or serene relaxation. Opting for a DIY approach empowers you to tailor this project to your exact vision, though its scale demands careful planning and execution. Let’s explore how to bring this ambitious and rewarding project to life.

Why Choose a Motorized Aluminum Pergola? 🤔
A motorized aluminum pergola represents a significant upgrade from traditional outdoor structures. Its core innovation lies in its adjustable louvers or retractable canopy, typically controlled by a remote or smart device. This allows you to:
.jpg)
- •
Precisely control sunlight and ventilation: Fine-tune the louver angle to block harsh rays or welcome gentle breezes.
- •
Instantly adapt to weather changes: Quickly close the roof to shelter from sudden rain or open it up to enjoy a sunny day.
- •
Create a versatile microclimate: Effectively manage the comfort of your outdoor space, making it usable in various weather conditions.
The aluminum construction is key to its appeal. It offers exceptional durability and is naturally rust-resistant, ensuring your structure withstands the elements for years with minimal upkeep. Unlike wood, it won’t warp, rot, or require constant staining.
▶️ Is a motorized pergola difficult to operate or maintain?
Not at all! The motorized systems are designed for user-friendly operation. Maintenance primarily involves keeping the louvers clean and occasionally checking the mechanical components, which is straightforward compared to maintaining a wooden structure.
Planning Your 20×40 Motorized Pergola Project 📐
Thorough planning is the most critical phase for a project of this scale. Rushing this stage can lead to costly mistakes.
Key Considerations:
- •
Site Selection: Choose a level, stable area that can accommodate the pergola’s substantial 20×20 footprint. Consider sun path, wind direction, proximity to your house, and how you intend to use the space.
- •
Local Regulations: Always check local building codes and homeowner association rules. Permits are often required for permanent structures of this size, and there may be regulations regarding setbacks and height.
- •
Design and Functionality: Decide on the style and features. Do you want integrated LED lighting for evening ambiance? What about optional side screens for added privacy and wind protection? Plan for electrical wiring if your motorized system or accessories require it.
Essential Materials and Tools 🛠️
Gathering the right components before you start is crucial for a smooth build.
Core Materials List:
- •
Aluminum Posts and Beams: High-quality, extruded aluminum profiles form the main structure. Ensure they are designed to support the weight and span of a 20×40 pergola.
- •
Motorized Louver System: The heart of the project. This includes the adjustable louvers, the drive mechanism, the motor, and the control system (remote, wall switch, or smart home compatible).
- •
Fasteners and Hardware: Use stainless steel bolts, screws, and brackets to prevent galvanic corrosion and ensure a secure, long-lasting build.
- •
Foundation Materials: Concrete, gravel, and possibly sonotubes for creating sturdy footings that will support the structure securely.
Essential Tools:
- •
Tape measure & laser level
- •
Power drill & driver set
- •
Socket wrench set
- •
Post hole digger or auger
- •
Shovel
.jpg)
- •
Ladder
- •
Safety gear (gloves, goggles)
Step-by-Step Construction Guide 🧱
1. Site Preparation and Foundation Work
Mark the exact perimeter of your pergola using stakes and string. For a structure this large, digging proper footings is non-negotiable. Post holes should be dug below the local frost line and filled with concrete to form a solid base for the posts. Use a laser level to ensure all footing points are perfectly level with each other.
2. Assembling the Frame and Posts
Once the concrete has fully cured, securely attach the vertical posts to the footings using appropriate post anchors. This is a critical step—ensure each post is perfectly plumb before the concrete fully sets. Next, attach the main horizontal support beams to the tops of the posts. Double-check that the entire frame is square and level before fully tightening all bolts.
.jpg)
3. Installing the Motorized Louvre System
Carefully follow the manufacturer’s instructions to install the louvers and the drive mechanism. This typically involves mounting the motor, connecting the push rods that control the louver rotation, and ensuring each louver is properly aligned and engages correctly. This step often requires a helper due to the length of the components.

4. Electrical Connections and Final Assembly
If your system is motorized, this is the time to connect the wiring for the motor and any integrated lighting. If you are not experienced with outdoor electrical work, hiring a licensed electrician is highly recommended for this step to ensure safety and compliance with codes.After the electrical connections are made, install any remaining components like end caps, gutters, and side panels.
5. Testing and Finishing Touches
Before celebrating, thoroughly test the entire system. Open and close the louvers multiple times to ensure smooth operation. Check all bolts and connections for tightness. Finally, add your personal touches like outdoor furniture, planters, or decorative lighting to create your ideal outdoor room.
Personalizing Your Grand Outdoor Room 🎨
Your massive 20×40 pergola is a blank canvas. Here’s how to make it your own:
- •
Lighting Magic: Install LED strip lights along the beams or hang pendant lights over a dining area to create a stunning ambiance after dark.
- •
Privacy and Style: Add outdoor curtains or retractable side screens to define the space, provide shelter from wind, and enhance privacy.
- •
Define the Floor: Use outdoor rugs, deck tiles, or a paved surface to anchor your furniture arrangements and add comfort underfoot.
- •
Functional Zones: Divide the large space into distinct areas—perhaps a dining section, a cozy lounge with a fire pit, and a game area.
Maintenance for Longevity and Performance 🔧
While aluminum is low-maintenance, a motorized system requires some care to keep it performing flawlessly for years.
- •
Regular Cleaning: Periodically clean the louvers with a soft brush and mild soapy water to prevent dirt and debris from hindering their movement.
- •
Annual Inspection: Once a year, inspect all bolts and electrical connections for tightness. Lubricate the moving parts of the louver system as recommended by the manufacturer.
- •
Check Seals and Gutters: Ensure weather seals are intact and gutters are clear of debris to guarantee proper water runoff.
Embracing the Scale of Your Project
Building a 20×40 motorized aluminum pergola is a substantial undertaking, but the payoff is a truly exceptional outdoor living area. It’s a space that redefines your relationship with your home, encouraging you to spend more time outside in comfort and style. The combination of robust materials, smart technology, and your personal effort results in a durable, valuable, and deeply satisfying addition to your property. This isn’t just a DIY project; it’s an investment in a lifestyle.

