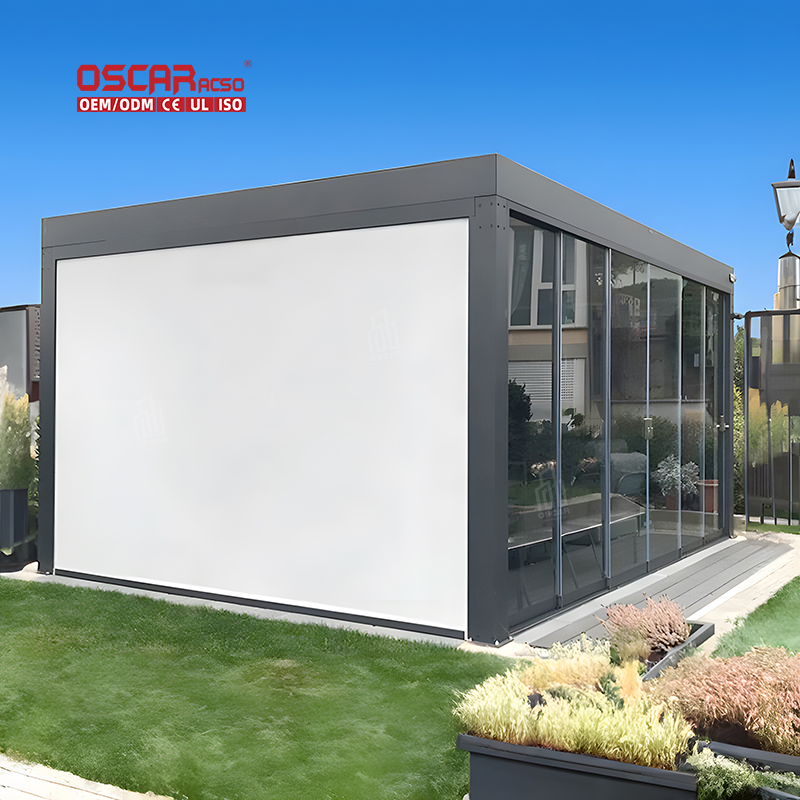
Building a Pergola, Transform Your Backyard into a Dreamy Outdoor Oasis
✨ Dreaming of a beautiful pergola in your backyard? Building one is a deeply rewarding project that can enhance your...
.jpg)
✨ Dreaming of a beautiful pergola in your backyard? Building one is a deeply rewarding project that can enhance your outdoor living experience and boost your property’s value. Let’s walk through the key steps and considerations to turn that dream into a reality.
🗺️ Planning and Design: The Blueprint for Success
Every great pergola starts with a solid plan. First, define its purpose: Will it be a cozy lounge area, a space for outdoor dining, or a support for climbing plants? This decision will influence its size, location, and design. Choose a location that considers sun exposure, wind patterns, and how it integrates with your existing landscape and home architecture .
Don’t forget to check local building codes and regulations. Many municipalities require permits for structures like pergolas, especially those exceeding a certain size or attached to your house. Consulting your local building department beforehand can save you from potential fines or having to dismantle your hard work later .
🪚 Gathering Materials and Tools
Selecting the right materials is crucial for your pergola’s longevity and appearance.
- •
Wood: A classic choice. Cedar and redwood are excellent for their natural resistance to rot and insects. Pressure-treated lumber is a more cost-effective option for structural components .
.jpg)
- •
Metal: Offers a sleek, modern look and is generally low-maintenance .
- •
Vinyl/Composite: Provides durability and weather-resistance with minimal upkeep, though may have limited style options .
You’ll also need the right tools for the job. Essentials typically include:
- •
A tape measure, level, and chalk line for layout
- •
A post hole digger
- •
A circular saw and drill
- •
A wrench set and ladder

⚒️ Site Preparation and Post Installation
A stable foundation is non-negotiable for a sturdy pergola.
.jpg)
- 1.
Clear and mark the area: Remove any debris and use stakes and string to outline the pergola’s footprint, ensuring it’s square .
- 2.
Dig post holes: Dig holes for your posts. A common guideline is to dig at least 2 feet deep and about 12 inches wide, though depth may vary based on local frost lines and codes .
- 3.
Set posts in concrete: Place posts in the holes, use a level to ensure they’re perfectly plumb, and brace them temporarily. Pour concrete around the posts and allow it to cure completely (usually 24-48 hours) before continuing .
.jpg)
🔨 Framing: Building the Skeleton
With the posts secure, you can build the overhead structure.
- •
Attach support beams: Secure horizontal beams to the top of the posts using heavy-duty fasteners like lag screws or carriage bolts. Pre-drilling holes can prevent the wood from splitting .
- •
Install rafters and crossbeams: Place the rafters perpendicularly across the support beams. Spacing is key; 12 to 24 inches apart is common for balancing shade and openness. For added strength and visual interest, you can optionally add purlins (smaller pieces) perpendicular to the rafters .
Throughout this process, constantly use a level and square to ensure everything is level, square, and aligned. This attention to detail ensures a professional-looking and structurally sound result .
🎨 Finishing Touches: Protection and Personalization
Now for the fun part—making it yours and ensuring it lasts.
- •
Apply a protective finish: Sand any rough edges and apply a weather-resistant stain, paint, or sealant. This protects the wood from moisture, UV rays, and pests, significantly extending its lifespan. Reapplication every few years is part of regular maintenance .
- •
Add functional and decorative elements:
- •
Shade Solutions: Retractable canopies or shade sails offer adjustable coverage .
- •
Greenery: Train climbing plants like wisteria or clematis for natural shade and beauty .
- •
Lighting: String lights, lanterns, or recessed lighting create a magical ambiance for evening use .
- •
Comfort: Add outdoor furniture, rugs, and cushions to create an inviting outdoor room .
- •
🛠️ Maintenance for Longevity
To enjoy your pergola for years to come, some simple maintenance is needed. Regularly inspect for signs of damage, like cracks, rot, or loose fasteners. Clean it annually with mild soap and water to remove dirt and debris. Reapply protective finishes as needed, typically every few years, depending on the product and weather exposure .
💡 Personal Insights: Beyond the Build
From my perspective, the true value of a pergola extends beyond its structure. It’s about creating an outdoor sanctuary—a dedicated space to disconnect, relax, and connect with nature and loved ones. The choice of material isn’t just about cost; it’s about the feeling you want. Wood offers warmth and tradition, while metal provides a crisp, contemporary vibe.
Don’t be afraid to start small and let the space evolve. Perhaps begin with the basic structure and add climbing plants or lighting later. Your pergola can grow and change with your needs, becoming a cherished part of your home life.
❓ Frequently Asked Questions
- •
Q: How long does it typically take to build a pergola?
- •
A: For a DIY enthusiast, building a pergola typically spans two weekends. The first is often dedicated to setting posts and allowing concrete to cure, with the framing and finishing touches completed on the second .
- •
- •
Q: What’s a common mistake to avoid when building a pergola?
- •
A: Skipping the step of checking local building codes and permits is a big risk. It’s crucial to ensure your project is compliant to avoid potential issues down the line .
- •
Building a pergola is a achievable DIY project that adds lasting value and enjoyment to your home. With careful planning, the right materials, and a methodical approach, you can create a stunning outdoor retreat for making countless memories. 🏡

