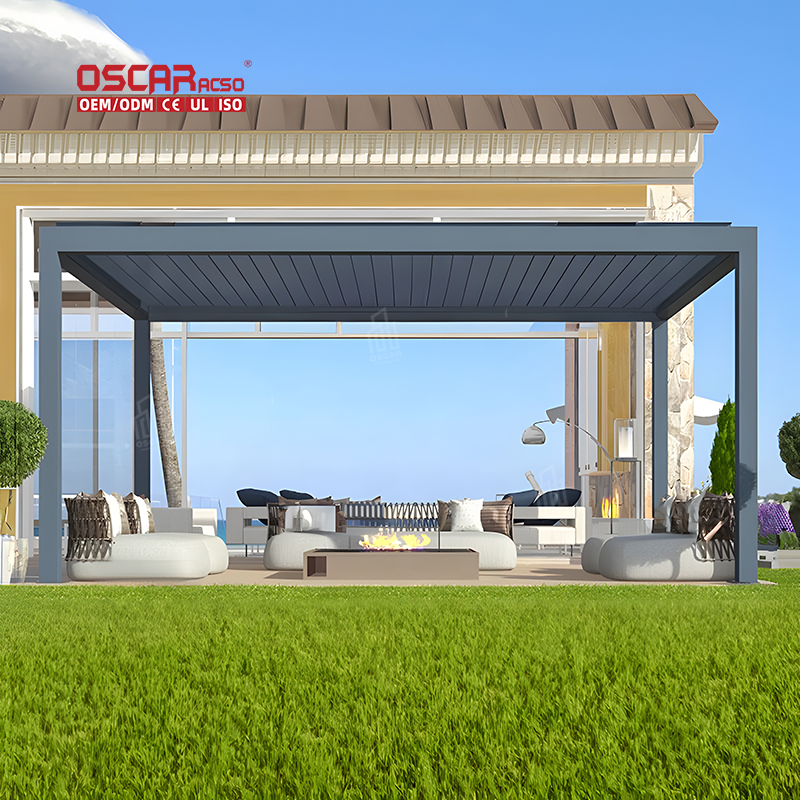
DIY Motorized Roof Pergola with Automatic Screens, Create Your Smart Outdoor Oasis
Imagine sipping your morning coffee as your pergola\'s roof silently adjusts to block the glaring sun, while automatic sc...
Imagine sipping your morning coffee as your pergola’s roof silently adjusts to block the glaring sun, while automatic screens descend to shield you from a sudden breeze. ✨ This isn’t a scene from a futuristic movie; it’s the reality of a DIY motorized pergola! Combining smart technology with hands-on building, this project transforms your backyard into a responsive, comfortable living space. Why settle for a static structure when you can have one that adapts to your needs and the weather? Let’s explore how you can build this modern marvel. 🌤️
.jpg)
The Heart of the Smart Pergola: Motorized Mechanisms
At its core, a pergola with a motorized roof features louvers or panels that open and close electronically. How does it work? A weather-resistant motor, often controlled by a remote or smartphone app, drives a gear system to tilt the roof slats. This allows you to fine-tune the amount of sunlight or ventilation with a simple button press. Some advanced systems even include rain sensors that trigger automatic closure when droplets are detected, protecting your furniture and guests from unexpected showers. The automatic screens are similarly operated, rolling down from a discreet housing to provide additional shade, privacy, or bug protection. I’ve found that the seamless integration of these two systems is what truly elevates the outdoor experience from basic to brilliant.
Why Go Motorized? The Unbeatable Benefits
Choosing a motorized system over a manual one isn’t just about convenience; it’s about enhancing functionality and value. The key advantages are clear:
- •
Ultimate Convenience: Adjust your outdoor environment without moving from your seat. Perfect for entertaining or simply relaxing.
- •
Weather Adaptability: React instantly to changing conditions. Sun turns to rain? Your roof can close in seconds.
- •
Enhanced Durability: High-quality motors and materials are designed for long-term outdoor use, often outperforming manual cranks that can wear out.
- •
Increased Property Appeal: A smart pergola is a standout feature that can make your home more attractive to future buyers.
From my perspective, the greatest benefit is the sheer enjoyment of a hassle-free space. It encourages you to use your garden more often, knowing you’re in complete control of the elements.
Planning Your DIY Project: A Step-by-Step Approach
Tackling this project yourself is rewarding but requires careful planning. Don’t just dive in! Ask yourself: What is my primary goal—shade, rain protection, or privacy? Your answer will guide material choices.

- •
Design & Sizing: Start with a clear design. Consider the pergola’s footprint and how it will attach to your house or stand freely.

- •
Material Selection: Opt for low-maintenance materials like aluminum or wood-plastic composite (WPC). These resist rust and rot, crucial for a long-lasting structure.
- •
Power Source: Ensure you have a safe outdoor power supply for the motor. Solar-powered options are emerging for a greener solution.
- •
Kit vs. Custom: Many companies offer DIY kits with pre-cut parts and detailed instructions, which can significantly simplify the process for beginners.
I always advise starting with a comprehensive kit if you’re new to large DIY projects. It reduces the margin for error in critical steps like aligning the motor and track system.
Installation Insights and Personal Tips
The installation process is where your vision comes to life. The general sequence involves building the pergola frame first, then installing the motorized roof mechanism, and finally fitting the automatic screens.
A simplified workflow looks like this:
.jpg)
- 1.
Foundation: Ensure a level and stable base for the posts.
- 2.
Frame Assembly: Erect the main structure securely.
- 3.
Roof Mechanism: Carefully install the motor, gears, and louvers according to the manufacturer’s guidelines.
- 4.
Screen Integration: Mount the screen housings and connect them to the control system.
- 5.
System Testing: Test all motor functions and program any smart features.
A pro tip from my own experience: pay meticulous attention to sealing all electrical connections. This is the most common point of failure in outdoor automated systems. Use waterproof junction boxes and conduit to protect against moisture.

The Future is Automated and Integrated
Looking ahead, the integration of pergolas with smart home ecosystems is the next logical step. We’re already seeing systems that can be scheduled based on the sun’s position or controlled via voice commands. The addition of integrated LED lighting, as seen in some modern designs, extends the usability of the space into the evening, creating a magical ambiance. The DIY aspect empowers homeowners to be at the forefront of this trend, customizing their outdoor rooms to an unprecedented degree. It’s not just about building a shade structure; it’s about crafting an intelligent extension of your home. 🏡

