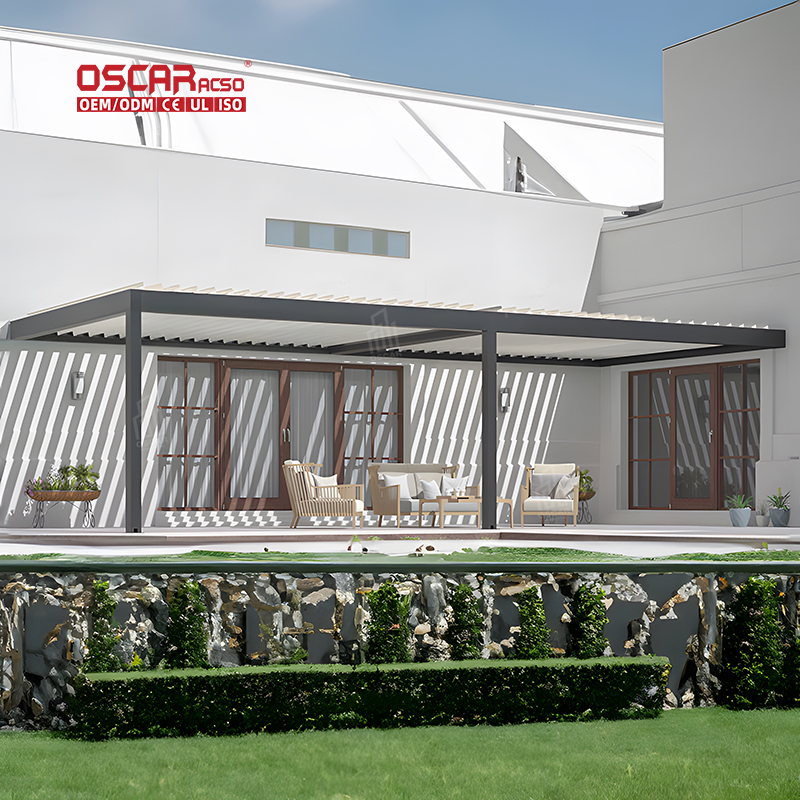
Pergola Installation Mastery: Your Ultimate Step-by-Step Guide to Outdoor Transformation
Ever stared at an empty backyard and dreamed of a shaded retreat? Installing a pergola might seem daunting, but with the...
Ever stared at an empty backyard and dreamed of a shaded retreat? Installing a pergola might seem daunting, but with the right guidance, it’s an achievable weekend project that transforms your outdoor space. Let’s break it down together! 🌿
Pre-Installation Essentials: Planning & Tools
Success starts before the first screw is turned. Begin by checking local permit requirements—some areas mandate inspections for permanent structures. Choose a flat, stable surface like concrete, grass, or decking, and ensure your design accounts for sun path and wind direction.
Gather these tools:
- •
Power drill with screwdriver bits
- •
Level and measuring tape
- •
Ladder and safety gloves
- •
Concrete mix (for ground anchoring)
- •
Basic lumber or kit components (posts, beams, rafters)
Pro tip: Aluminum kits are lighter and rust-proof, while cedar offers classic aesthetics but requires sealing.
Step-by-Step Assembly: From Ground to Sky
- 1.
Foundation & Post Anchoring
Dig holes for posts (at least 2 feet deep for stability), insert posts, and pour concrete to secure. Use a level to ensure vertical alignment. For grass installations, add ground anchors or sandbags to prevent shifting.
- 2.
Attaching Beams & Rafters
Secure horizontal beams to posts using galvanized screws. Then, attach rafters perpendicularly across beams. Predrilled holes in kits simplify this, but DIY wood may require manual spacing.
- 3.
Canopy or Louver Add-ons
For shade, add retractable fabric canopies or adjustable aluminum louvers. These block rain and sun while allowing airflow. Some kits include integrated gutter systems for drainage.
- 4.
Finishing Touches
Sand rough edges, apply sealant (for wood), and install accessories like hanging hooks or LED lights.
Material-Specific Tips: Wood vs. Aluminum
- •
Wood: Requires annual sealing to prevent rot. Cedar and oak are durable but heavier.
- •
Aluminum: Lightweight and low-maintenance but may wobble in high winds without proper anchoring.
- •
Vinyl: Affordable and fade-resistant but less stable in extreme weather.
Safety & Stability Considerations
- •
Wind Resistance: Anchor legs to concrete or use weighted bases. Disassemble canopies during storms.
- •
Load Capacity: Ensure rafters support climbing plants or snow loads (up to 150kg/m² for robust designs).
- •
Electrical Wiring: If adding lights or fans, hire an electrician for weatherproof connections.
Personal Insights: Avoiding Common Pitfalls
Having tested multiple installations, I’ve seen DIYers underestimate post-leveling—even a slight tilt compromises stability. Use temporary braces during concrete setting. Also, pre-stain wood parts before assembly to avoid uneven coverage. For kits, inventory all parts first; missing hardware delays projects by days! 🛠️
Why Professional Help Might Save Time
While DIY costs less, hiring pros ensures precision. Complex designs (e.g., bioclimatic louvers or motorized shades) require technical expertise. Budget 500–2,500 for installation, depending on size and features.
Beyond Basics: Enhancing Functionality
- •
Privacy Screens: Attach trellises for climbing plants like ivy or wisteria.
- •
Heating & Lighting: Integrate infrared heaters or string lights for evening use.
- •
Smart Features: Motorized louvers controlled via app adjust shade automatically.
Final Thought: Pergolas as Living Spaces
Modern pergolas evolve beyond shade providers—they’re outdoor rooms. With innovations like built-in rain sensors and solar-powered fans, they blend aesthetics with eco-functionality. Your installation isn’t just a structure; it’s a lifestyle upgrade. 🌟


