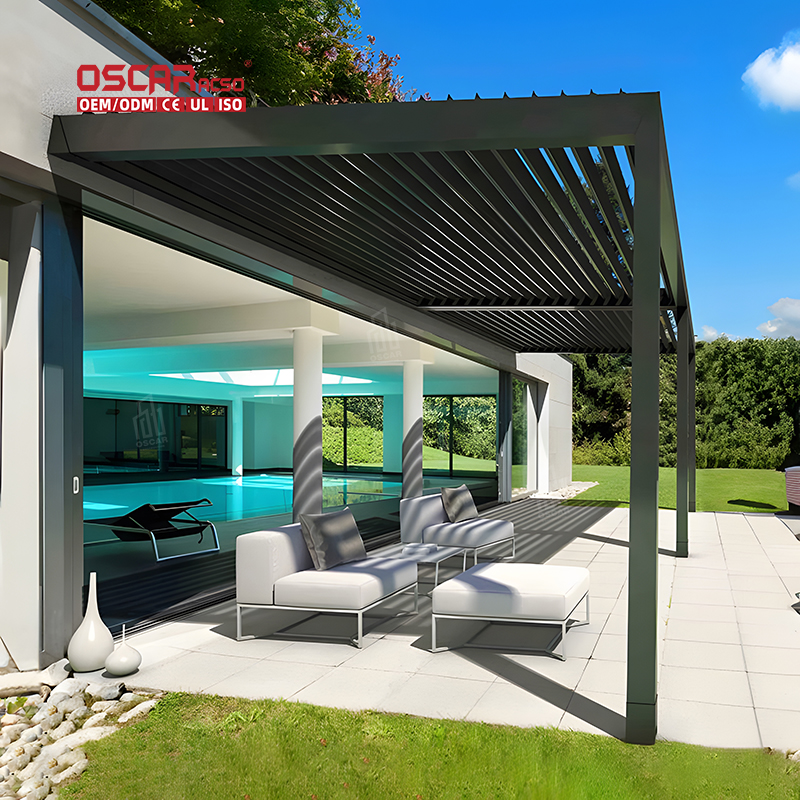
Pergola on Pavers, Unlock Your Dream Outdoor Oasis
Yes, absolutely! Installing a pergola on a paver patio is not only possible but a fantastic way to enhance your outd...
.jpg)
Yes, absolutely! Installing a pergola on a paver patio is not only possible but a fantastic way to enhance your outdoor living space. With the right techniques and materials, pavers can provide a stable and aesthetically pleasing foundation for your structure. The key lies in proper anchoring and meticulous preparation to ensure safety, durability, and visual appeal. Whether you’re dreaming of a shaded retreat for relaxation or an elegant entertainment area, a paver-based pergola delivers both function and style 🌿.
🌟 Benefits of Installing a Pergola on Pavers
Choosing pavers as your base offers unique advantages:
- •
Design Flexibility: Pavers come in various colors, shapes, and textures, allowing seamless integration with your landscape.
- •
No Structural Damage: Unlike attached pergolas, freestanding ones on pavers avoid altering your home’s exterior.

- •
Drainage Efficiency: Pavers naturally promote water runoff, reducing the risk of wood rot or erosion around posts.
- •
Increased Property Value: A well-installed pergola elevates outdoor aesthetics and functionality, boosting resale appeal.
🛠️ Essential Tools and Materials
Gathering the right equipment upfront streamlines installation. You’ll need:
- •
Anchoring Systems: Concrete anchors, post brackets, or epoxy adhesive .
- •
Tools: Drill with masonry bits, level, measuring tape, wrench, and safety gear .
- •
Materials: Pergola kit (wood/metal), concrete mix (for footings), and sealant for weatherproofing.
📐 Step-by-Step Installation Guide
1. Assess and Prepare the Paver Surface
Ensure pavers are clean, level, and debris-free. Replace any loose or damaged stones to create a stable base .
2. Mark Post Locations
Use chalk or string to outline the pergola’s footprint. Align posts with paver joints for enhanced stability .
3. Anchor Selection and Installation

- •
Concrete Footings: Dig holes beneath pavers (below frost line), insert posts, and fill with concrete for maximum stability .
- •
Surface Brackets: Drill into pavers with masonry bits, attach brackets using anchors, and secure posts .
- •
Non-Drill Options: For temporary setups, use weighted planters or ground anchors—ideal for renters .

4. Secure Posts and Attach Beams
Place posts into anchors, ensuring they’re perfectly vertical with a level. Fasten beams and rafters securely, maintaining consistent spacing for aesthetics and shade control .
5. Finishing Touches
Apply weather-resistant sealant to wood surfaces. Add climbing plants, lighting, or curtains for personalization .
💡 Critical Considerations for Success
- •
Local Regulations: Check building codes for permit requirements and depth guidelines for footings .
- •
Paver Thickness: Thicker pavers (e.g., 2+ inches) support heavier structures better .
- •
Utility Lines: Always verify underground utilities before digging to avoid accidents .
- •
Professional Help: For complex designs or uncertain DIY skills, consult experts to ensure safety .
🌧️ Maintenance and Long-Term Care
Regular upkeep preserves your pergola’s beauty and functionality:
- •
Inspections: Check annually for wood rot, rust, or loose screws .
.jpg)
- •
Cleaning: Wash surfaces seasonally to prevent dirt buildup and mildew .
- •
Resealing: Reapply sealant every 2–3 years to protect against moisture and UV damage .
💎 Personal Insight: Why Paver Bases Excel
In my experience, paver-mounted pergolas outperform other foundations in versatility. They merge seamlessly with hardscaping, avoid invasive concrete pours, and allow creative layouts—like curving paths around posts. For homeowners seeking a balance of DIY appeal and professional polish, this method offers unparalleled adaptability. Just prioritize frost-depth footings in colder climates to prevent shifting! 🌞

