

The size written beside a pergola photograph does not necessarily tell you how much unobstructed space you will have underneath it. Before comparing two proposals, establish where each dimension starts and ends. A roof-edge measurement, a post-center measurement and a clear gap between posts answer different questions.
This guide helps homeowners and project buyers read a pergola dimension drawing and check whether the proposed layout fits the way the space will be used. It is not a structural sizing method, a site survey or an installation drawing.
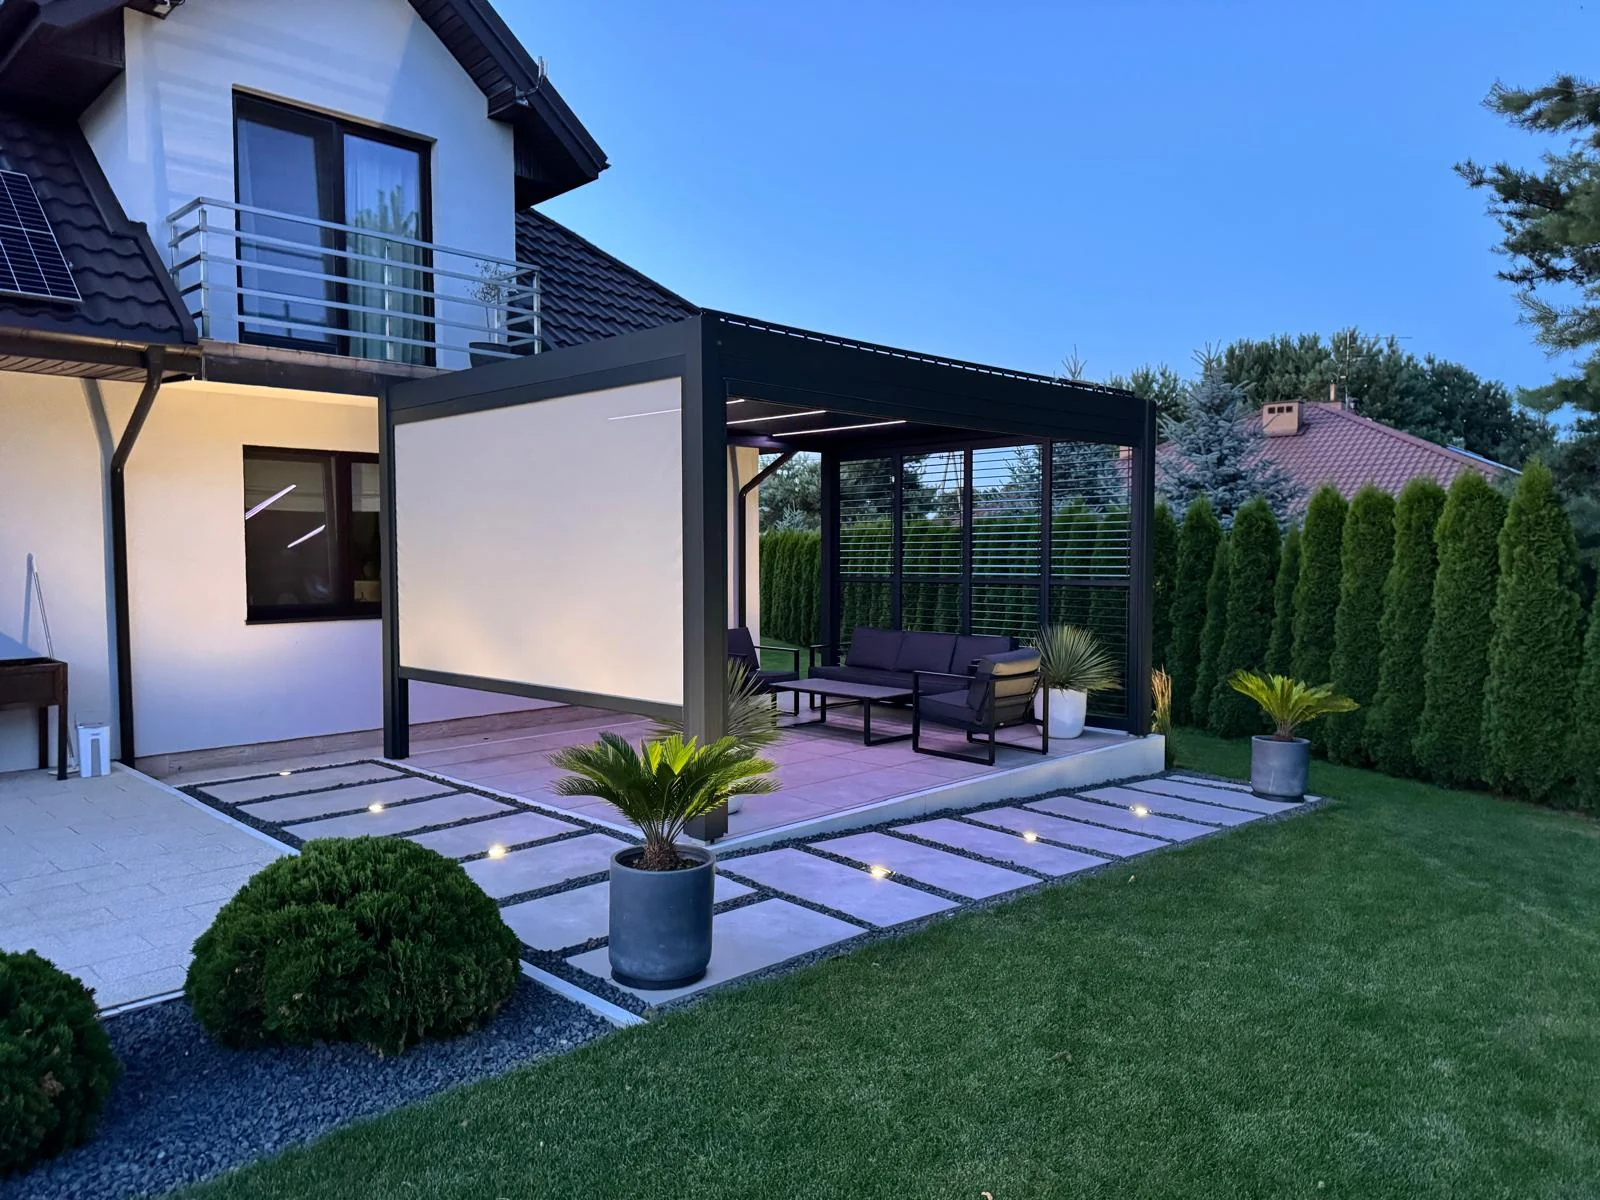
Which pergola dimension are you comparing?
Ask the supplier to label the following separately on the proposal. These working definitions make a review clearer, but the actual drawing legend and dimension endpoints must confirm what the supplier means.
- Overall roof or frame size: the outside-to-outside extent of the named roof or frame components. Ask whether gutters, covers or projecting trim are included.
- Post-center spacing: the distance between the centerlines of two posts. This is not the open gap between their inside faces.
- Clear opening: the unobstructed gap between the identified finished faces, measured in a stated direction and at a stated height.
- Overall height: the height to a named upper point, measured from a stated reference level.
- Clear height: the distance from the relevant finished surface to the lowest obstruction above the intended route or use area.
- Usable layout: the space left for furniture and movement after posts, screens, door movement and other constraints are considered. It is a layout check, not simply a catalogue dimension.
For a label such as “4 m × 3 m,” first ask whether it describes the outer frame, roof coverage or post layout. Do not assume all suppliers use the same convention. The pergola configuration catalogue is a starting point for choosing a layout; the dimensioned proposal needs to resolve the actual size.
Read the plan and elevation together
A plan shows the layout from above. Use it to identify the building side, individual posts, roof boundary and access routes. An elevation or section explains heights and the relationship between the floor, beam, roof and nearby openings. A plan alone cannot confirm headroom.
Locate the unit, drawing revision and named reference points before using any number. Keep millimetres, metres, feet and inches explicit. Use written dimensions rather than measuring a screenshot with a ruler: resizing a PDF or image can make its apparent scale misleading. If two views disagree, ask for a coordinated revision instead of deciding which one looks more plausible.
For an attached layout, identify what “projection” is measured from. It might start at a stated wall face or another defined line; the label must settle this. Oscar’s attached patio-dining configuration highlights the relationship with the facade, doors and windows. A product photograph cannot confirm the wall reference or fixing position at your property.
Use a simple calculation to spot a misunderstanding
For two straight, aligned posts, if the drawing gives their center-to-center spacing and their widths in the same measurement direction, the gap between their inside faces is:
Clear post gap = center-to-center spacing − half the first post width − half the second post width.
Consider a purely hypothetical drawing with a 4,000 mm outer roof width, 3,600 mm between post centers and two posts each 150 mm wide. The inside-face gap would be 3,600 − 75 − 75 = 3,450 mm. It would not be 4,000 mm, and it would not be 3,600 mm.
These numbers are an arithmetic example, not Oscar product dimensions, a recommended span or a structural approval. The calculation also does not account for projecting guides, brackets or other obstructions. Do not apply it directly to offset posts, an angled opening or an irregular layout without a drawing that defines the geometry. Ask the supplier to state the finished clear opening explicitly.
Check the space with furniture in use
A table that fits between the posts when its chairs are pushed in may still obstruct the route when people are seated. Lay out the furniture you intend to use, including chairs pulled back, recliners extended and doors in their operating positions. Use actual furniture dimensions rather than guessing scale from a staged image.
On the plan, mark the furniture zone and the route that must stay usable at the same time. Check the narrowest point of that route, not only the widest gap on the drawing. An intermediate post or a screen guide can change the result even when the overall pergola size stays the same.
For a preliminary visual check, mark the proposed post locations and furniture outlines on the patio with removable markers. Treat that as a way to discover conflicts, not as setting-out instructions for drilling or foundations. Required access, egress and accessibility clearances must be confirmed for the actual project; this guide does not prescribe a universal minimum.
Review screens and moving parts in each relevant position
Ask whether the quoted opening is measured between bare posts or between the installed screen guides and other finished components. If a side has sliding panels, identify the space used by the panels when parked. If a door swings, show its movement on the plan. A side opening should not be counted as a permanent route when the chosen configuration closes it.
For an adjustable roof, ask the supplier to show any operating envelope that could affect nearby eaves, lights or other objects. Do not infer blade clearance from a closed-roof picture. Keep access for operation and maintenance visible in the layout rather than treating it as leftover space.
Separate fitting the patio from fitting the foundations
The outer frame fitting inside a patio outline does not demonstrate that its supports can be installed there. Post bases, fixing arrangements and the supporting construction need their own project review. A paving edge is not evidence of a suitable structural edge or adequate foundation space.
Similarly, a quoted height needs a defined finished-floor reference. If the patio slopes or a new floor build-up is planned, ask the designer or installer to confirm which level applies to each height check. Do not subtract a guessed beam depth from a catalogue height and treat the result as verified headroom.
Request a dimension comparison, not another size label
When two offers look similar, ask both suppliers to complete the same short comparison:
- Outside roof/frame width and projection, with included projections identified.
- Post layout and center-to-center dimensions for each relevant bay.
- Finished clear width and clear height at the entrance and furniture zone.
- Screen, panel and roof operating positions that change the available space.
- Floor reference, drawing revision and unresolved site measurements.
A missing value should remain “to be confirmed.” Do not fill it by estimating from the other supplier’s drawing. This comparison can reveal that the lower-priced or larger-labelled option provides a different usable layout, without assuming either offer is wrong.
Close layout questions before installation planning
Send the marked-up plan, the intended furniture arrangement and any conflicting dimensions for review through Oscar’s project services. Ask for one coordinated drawing revision that incorporates the agreed answers. Record whether measurements are preliminary, site-verified or still pending; only the responsible project team can establish readiness for manufacture and installation.
Once the layout is resolved, use the installation handover guide to organize the next stage. Reading a size drawing and handing a project over to an installer are separate tasks: a useful furniture layout is not permission to change posts, spans or fixing details.
Editorial responsibility: Published by the Oscar Pergola website editorial account, hgjhuang. This original buyer guide uses the linked Oscar configuration and service pages to frame the project questions. The numerical example is hypothetical geometry, not a tested model specification. Final dimensions, structural design, clearances and component availability require project-specific confirmation.